Powered By Blogger

Sunday, July 1, 2018

Les Paul Pro

I was asked by a musician friend ( milosurf.bandcamp.com ) to do a conversion on his guitar. The guitar had a damaged serial number on it when he purchased it, so dating the guitar was not able to be done.

No worries, the job must go on. I am temporarily out of my normal work zone, so I procured an area on the kitchen table and went to town.


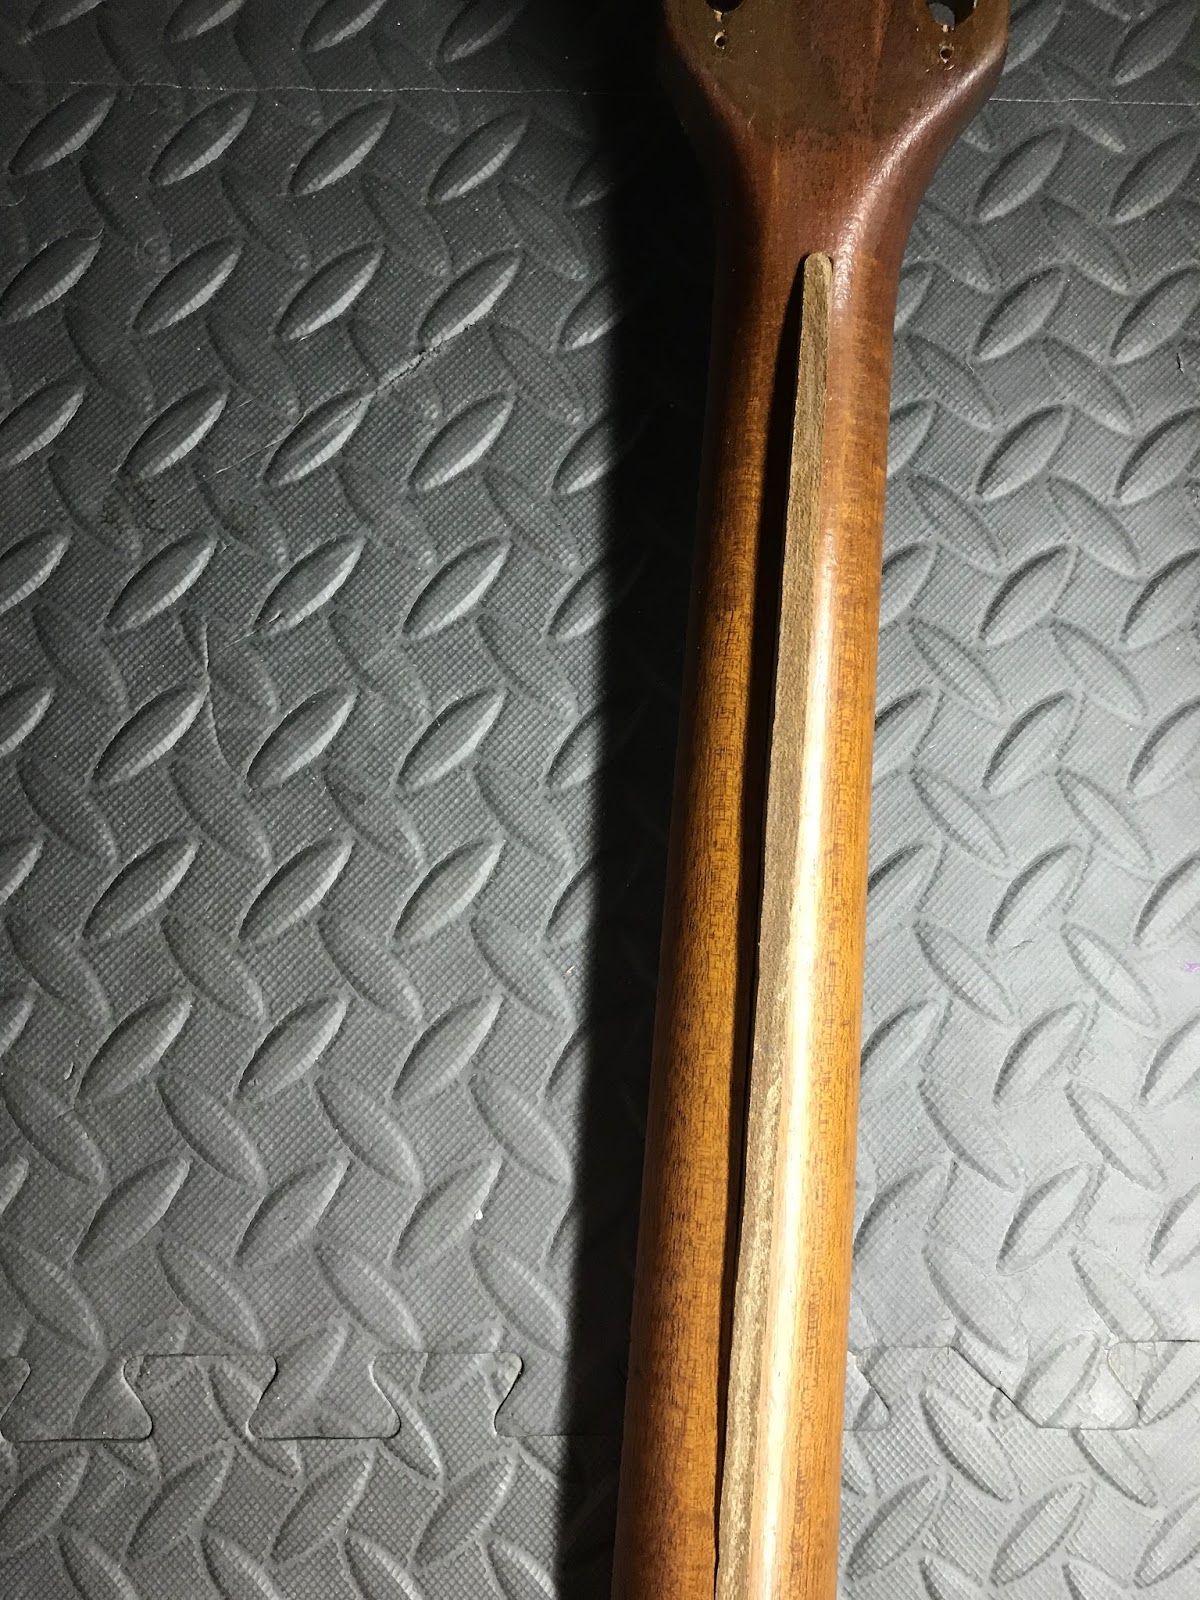
The guitar seemed to be almost all original. Maybe taken apart once before based on the solder joints. The body has a beautifully seasoned 3 piece maple top, a bourbon honey tint and the mahogany back was played just enough. The neck seemed to be slightly more narrow than other guitars of this era I have played, but still has a mildly chunk to it. 


As we can see, the current owner added an internal message which I interpreted as "you are about to jam on an exquisite piece of music history."  The neck has nice wear marks, the original Gibson tuners are hefty and hold tune well and the overall integrity of the guitar brings you back to the days of the late 60's to early 80's riffs.

I did play the guitar as it was with the P90's and it offered quite the blues-rock sound these pickups are known for. I carefully desoldered the switch and the pickups to remove the electronics and get to work.

I am not usually one to make structural modifications to vintage era instruments but in this case, the owner assured me this was what he wanted and this guitar is a very good condition player grade instrument.


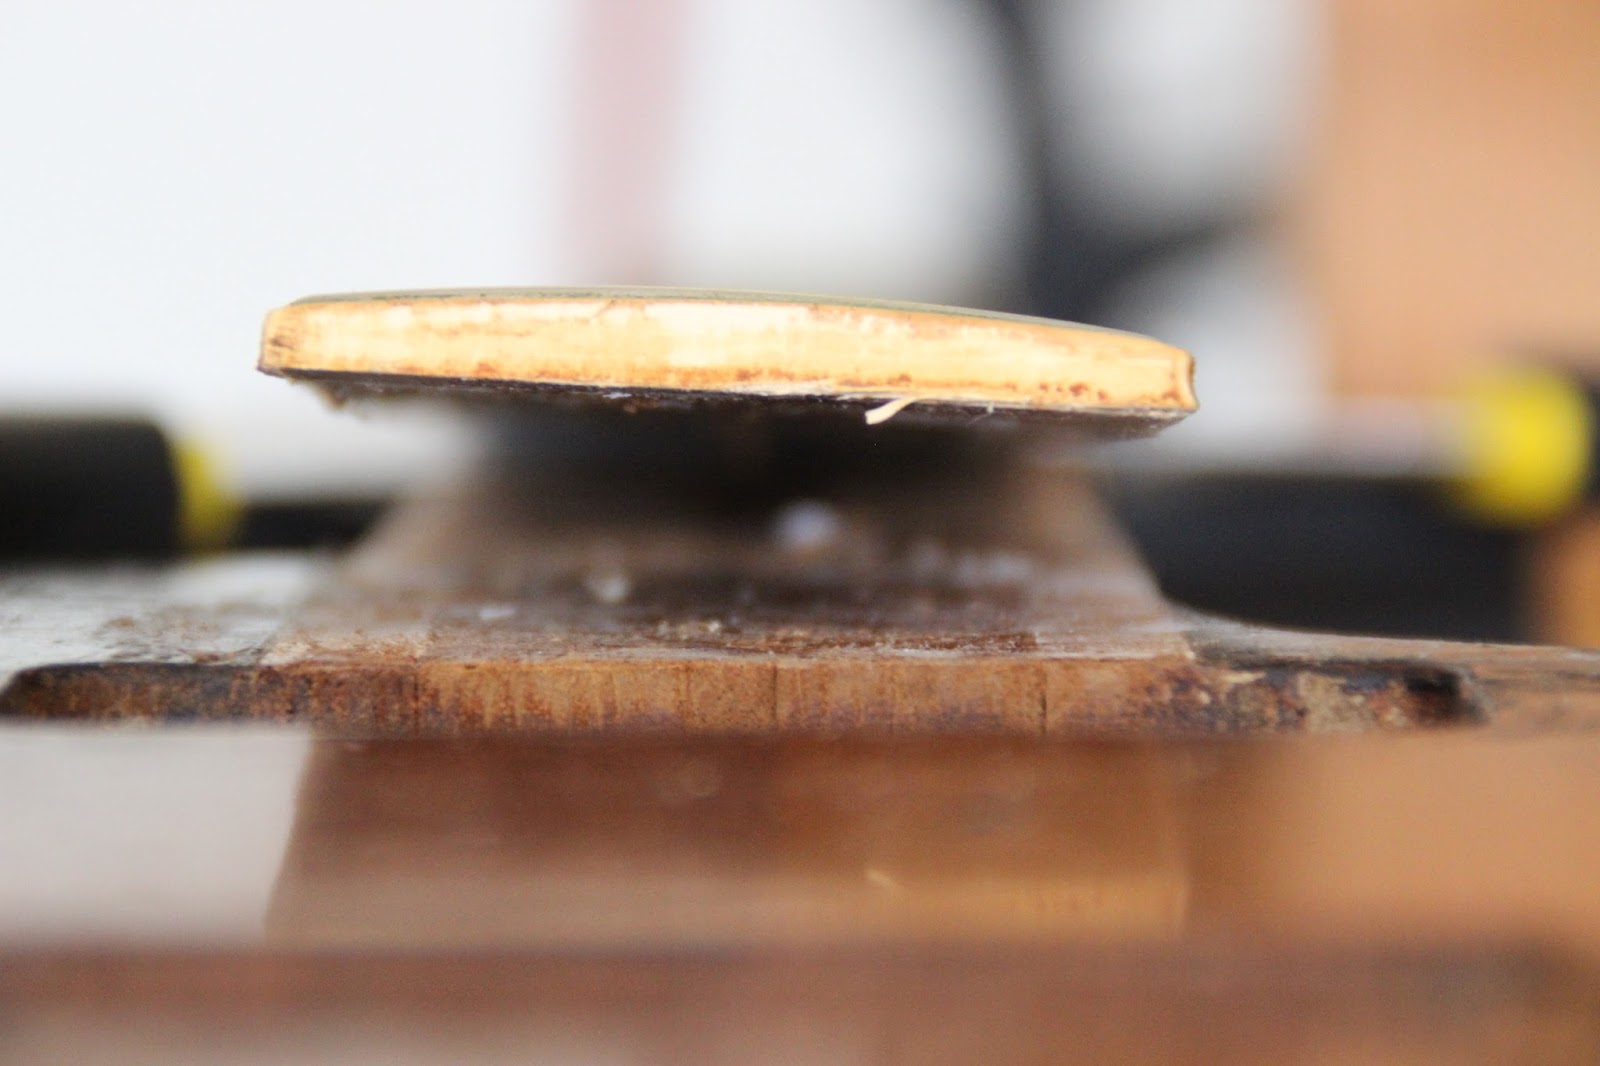
I like to document the disassembly process for several reasons. I like the discovery process and also the wear on the guitar you usually can't see. Like the wear area compared to the area under the pick guard. The clear bobbin P90's are in excellent shape as are the P90 mount plates. The potentiometer plate/assembly is also in great shape. I really do enjoy looking at these set ups versus the new ones. You can really see the difference in workmanship. 


This was the process to lay out the new route section. I lay tape down, mark the area on the tape in pencil for the pickup and the pick up ring then make a cut line through the tape with an Exacto knife and into the guitar finish. This serves two purposes; one, gives me the line to set up my route jig and also makes a cut in the finish to keep from the chipping further past the cut line. 


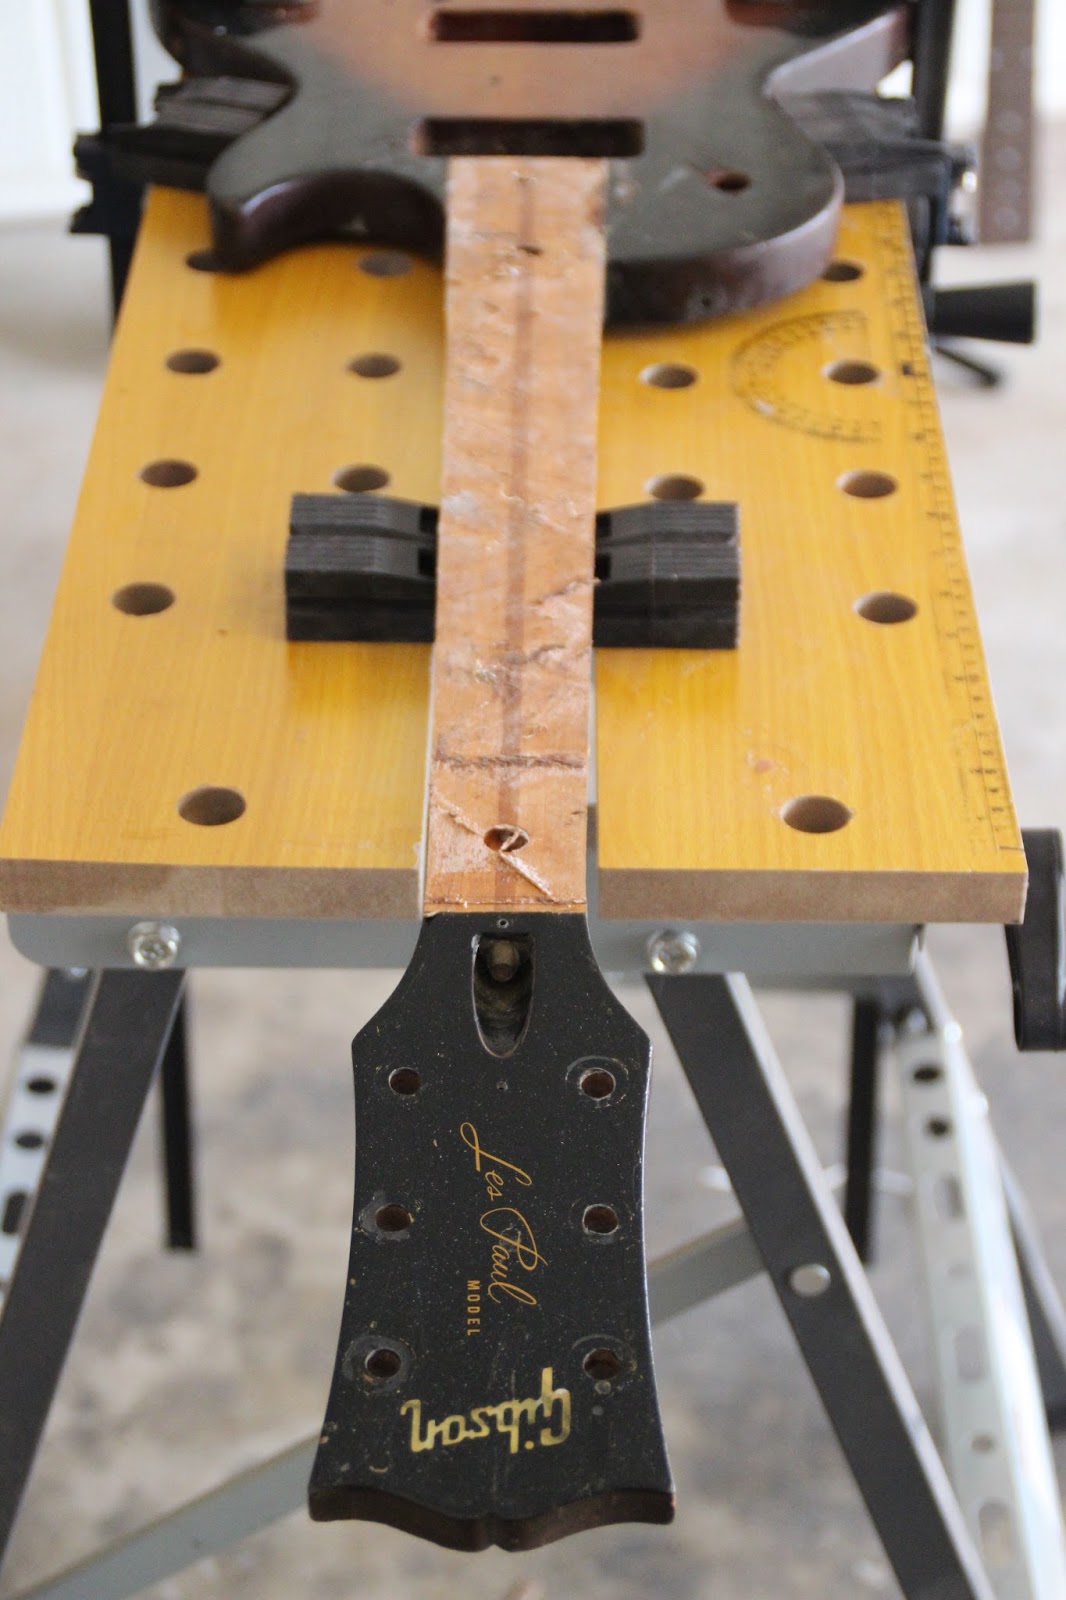
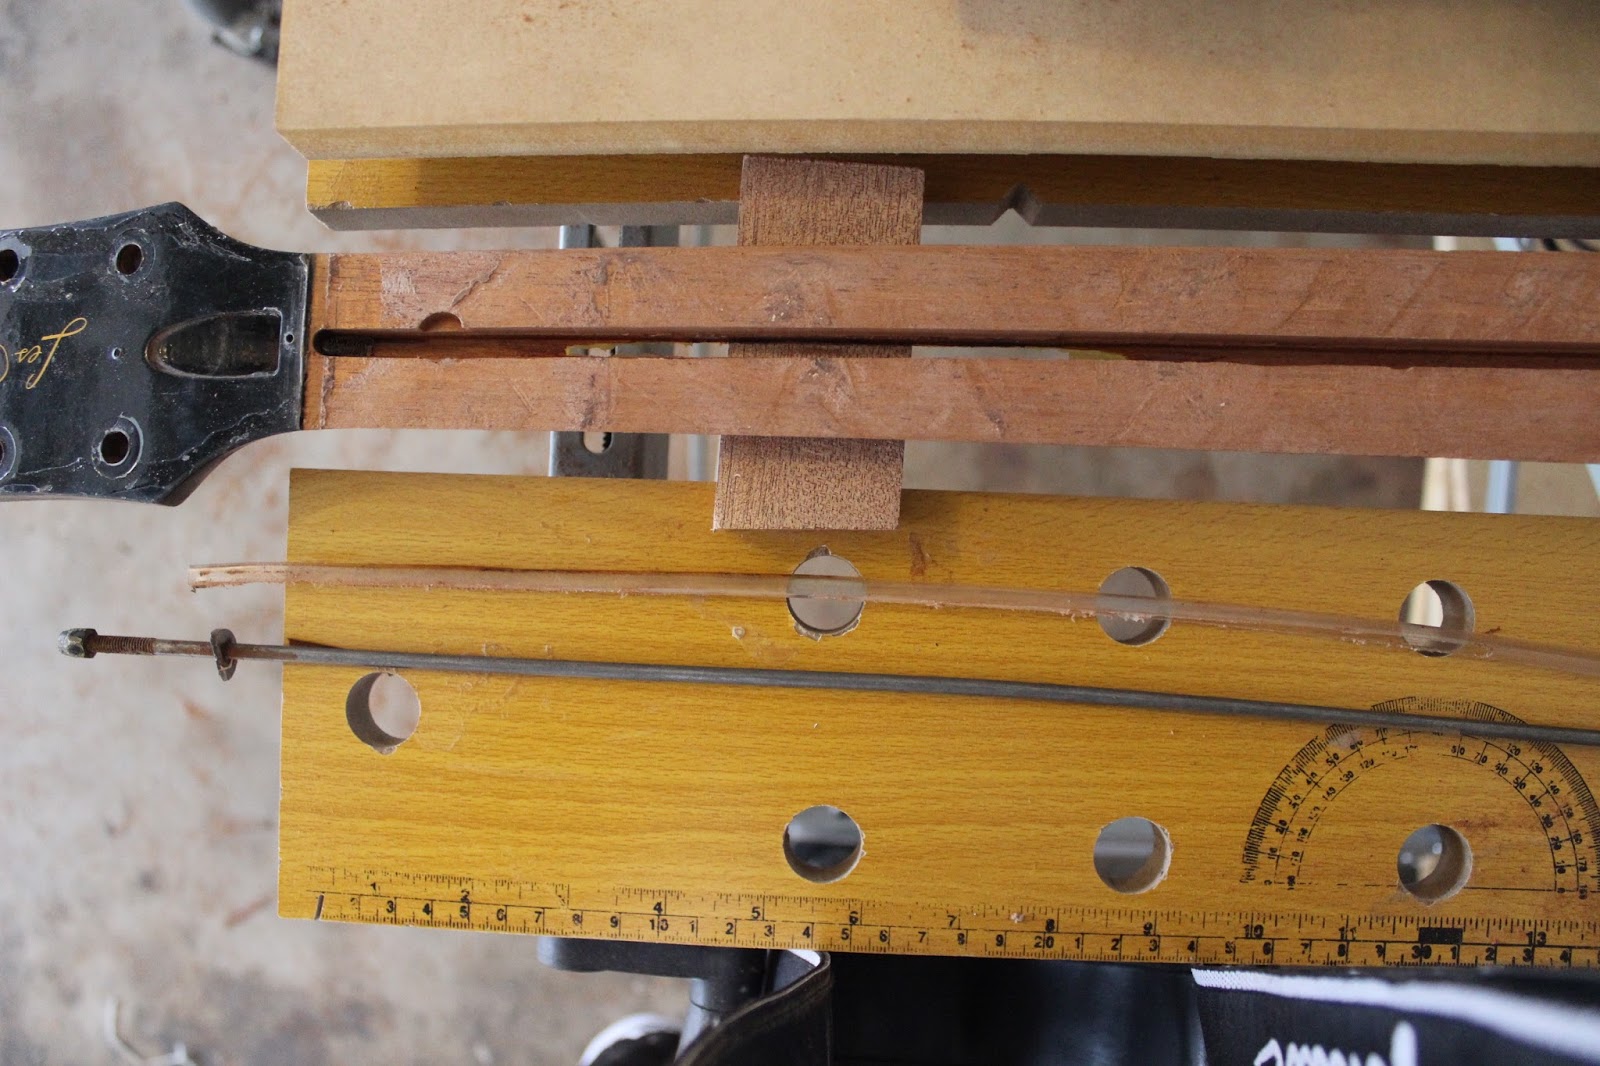
Next step is to cut little blocks for the corners out of some maple I have on hand. I shape the corners and height for the prospective corner it will live. I use a piece of scrap rosewood from a fretboard build previously done to press against the maple and use the slight pressure from the clothes pins to hold them in place over night.

It was at this next stage my camera battery had died and the maple corner routing was not documented, nor the reading of the new pickups.

The current owner opted for vintage DiMarzio humbuckers. They read at 8.03K at the neck and 13.68K at the bridge.

Once they were wired in and playing, this guitar SCREAMS!!!

I plugged into my bench test amp (Fender Frontman 25R), and ran the typical gamut of play.

Once I had the guitar tuned and set up, I was not only proud of the completed job, but it plays so smoothly and actually inspired my confidence.


Thursday, March 15, 2018

Some progress, some questions answered

I have had a few questions in regards to this project I’d like to address.

What kind of Guitar is this?
This is a 1974 Gibson Les Paul ‘55 Special Reissue. This is an example of the first year of the re-issued Les Paul Special. The 1975 and later models have the Tuneomatic bridges and this model has the wrap around bridge.

Why not graft the headstock to a new neck?
While this would seem like the easier option, I wanted to preserve as much of the original Guitar as I can. It’s not about an actual by the book restoration to factory original for me. This Guitar is nearly 45 years old (at this moment) and deserves to be played again.

Are you going to refinish the guitar to original specs?
No. This guitar has earned the scars, bumps, bruises and nicks over the years. I also do not have any of the original pieces beyond the body, neck, fretboard, frets and nut so an accurate restoration is not in the cards for this guitar.

Have you discovered anything more on the history of this guitar?
Unfortunately, no. So far there are two stories surrounding this guitar (as outlined in my first excerpt about Lola), and I have reached out to my connection who has put this guitar in the lime light as a local circuit rhythm guitarist owned and played who’s nephew hacked to this condition; and also to the shop my friend had pointed out as the guitar being owned by an old man who left it to his grandson that put the guitar under a belt sander.

Now for progress!!

I wanted to try to match the age of the wood used in this guitar and found some local reclaimed mahogany. In the following pictures, I have hand shaped and created a truss rod channel plug that will be glued in place and cut back to accept a truss rod once again. I will NOT be using the factory style truss rod as there is really no room in the neck to do so. Instead I am going to use a dual action, two rod style truss rod. This will allow me to use a shallower depth on this application and still be able to have the truss rod be adjustable.


Why is the strip mint green? Well, this donor wood is Mahogany reclaimed from cabinetry that was built into a nunnery in the 1940's. I decided to leave it as until its glued and shaved down.


After a solid fit, it'll trim down nicely.


I made sure I kept some wood dust to tint my glue when I glue the section into the truss rod channel. 


This will complete nicely... Can't wait. 


Saturday, March 10, 2018

Lola; the work begins

I am going to kick this update off with pics. You will see some gruesome pictures against a defenseless musical instrument. I caution you, this is one of the most assaulted guitars I've seen.


As you can see, the headstock finish appears to be melted. But still has character. 


The fretboard is seasoned, the binding aged, yet the frets will be replaced. I am going to do the fret replacement without sanding the fretboard. The fret markers are also in excellent shape. 


Here is where you can start to see the damage. I am a huge fan of the patina, but the holes through the body in the switch, neck pickup and control knobs foreshadow so much more than you can imagine...


The patina continues. The wood grain is magnificently aged. 


Here is where the damage becomes more apparent. The neck was sanded through to the truss rod, the heel is now non existent, the body was sanded down and wood filler added to the body which was then taped down for some reason. 


As the pictures roll on, you can see more of the damage. 


That is the input jack to give an idea of how massacred this guitar is. 


A picture of the process in removing the fretboard. 


And with the fretboard removed, you can see the darker piece of wood in the middle I will be routing out to fully remove the truss rod. 


With the fretboard removed, I clamped it to a level to keep it from warping as it cooled down. 


As you can see, the scars she wears tells the story of her life. I imagine besides the obvious assault she suffered, she has had a rather hard life. 


First few passes with the router in the attempt to remove the truss rod. The MDF board was there to guide the router in a straight line. At this point, taking a router to the neck was a test of patience and will. It seemed so hard to further disfigure her to make her better. 


So these ending shots... I routed through as this seemed the best way to fix the damage. The Gibson style truss rod bows and in my attempt to fix the neck, I will fill this section with a strip of mahogany and after it cures, I will re-route the excess and put in a double action truss rod. This pains me to move from the original style set up, but I want this guitar to play again. 

Till next time...